Begin with the job the material must do
There is no single “best tonewood” independent of context. Makers choose material for a particular component, instrument family, construction method and expected use. A piece intended for a violin back has different demands from a flute body, a guitar brace, a harp soundboard or a carved component on a traditional lute. Density, stiffness, grain orientation, dimensions, stability and the maker’s established method all matter. Colour and dramatic figure may attract the eye, but appearance alone does not establish suitability or predict an instrument’s sound.
When you visit a workshop, start by asking what the piece is intended to become. Ask why its grain direction matters and which visual signs the maker checks before cutting. Listen for practical reasoning: does the board have the required dimensions, is it stable enough for the planned operation, and can the maker orient it to suit the part? A useful explanation connects material properties to a concrete task rather than presenting a species name as a guarantee.
Read the surface and the end grain
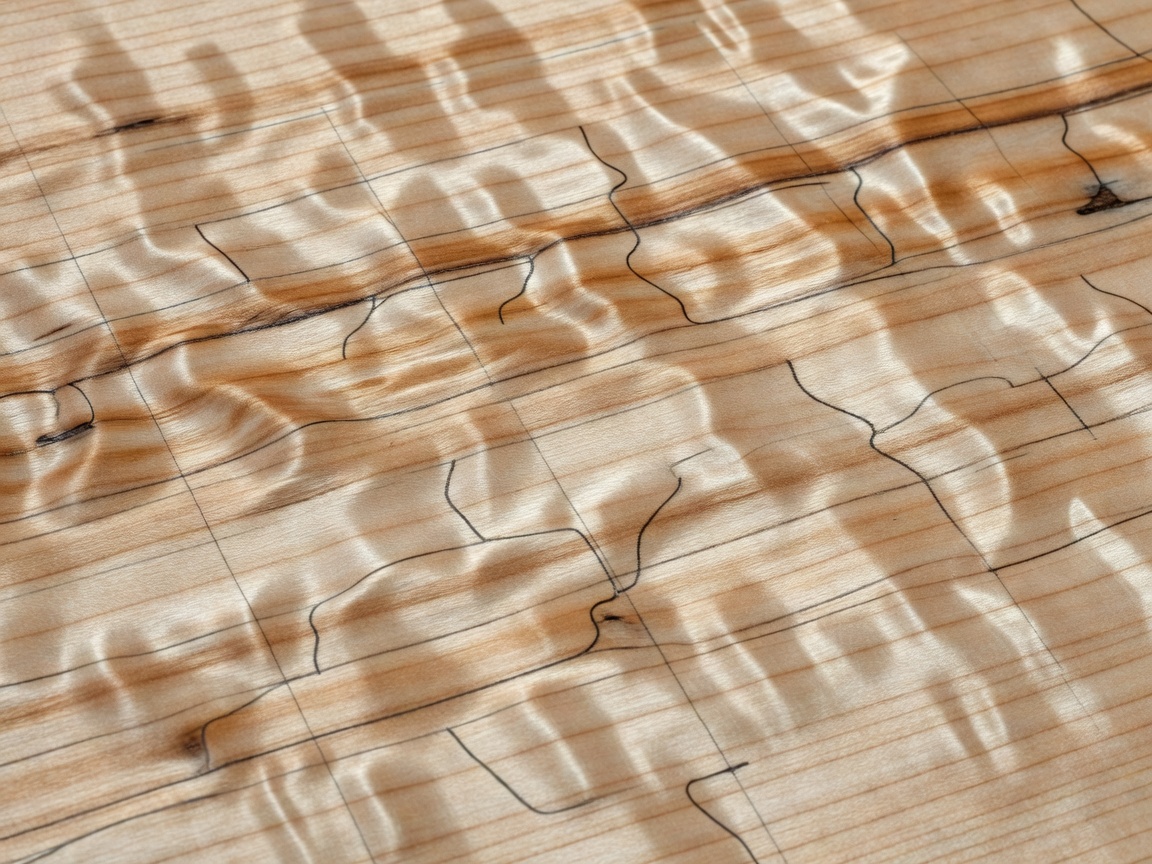
Grain is a record of growth and of how a board was sawn. On a prepared sample, a maker may point out straightness, run-out, irregularity, knots, checks or other features that affect working. Those marks are not a universal pass-or-fail code: their importance changes with the component and with the position where they appear. A harmless-looking feature in one location may be unacceptable in a thin, highly stressed part. The maker’s judgement depends on experience with the species, the intended shape and the tool sequence.
Visitors can practise careful observation on offcuts. Compare a face and end grain; follow a visible line and note where it changes direction; identify pencil marks that indicate a planned cut. Do not infer dryness or structural integrity from appearance alone. A brief session may introduce how makers store and inspect timber, but measuring moisture, choosing stock for a commission and deciding whether a defect is acceptable are specialist responsibilities.
Preparation takes time and checks
Before carving or machining, stock may need to be brought to useful dimensions, marked out, and prepared so reference surfaces are reliable. The specific sequence varies. Some makers split or saw stock; others buy prepared boards. A luthier may work with components that have been seasoned and stored for a long period. Woodwind makers may select a dense, suitable blank for boring and turning. Makers of bowed instruments may prepare spruce and maple in forms matched to a particular design. None of these approaches should be reduced to a universal recipe.
Ask what the maker checks between operations. A straightedge, gauge, marking knife or simple visual comparison may help establish whether a surface is ready for the next step. The important lesson is not that a visitor can reproduce the whole process after one demonstration. It is that preparation creates dependable references; later accuracy depends on them. In supervised practice, the instructor may offer an offcut, a blunt marking exercise, or a prepared piece for a safe, bounded task.
Species names are a beginning, not an answer
Several familiar materials appear in instrument making, but their roles vary across traditions. Spruce is widely associated with soundboards and other responsive components; maple is common in bowed-string construction; ebony has been used for fingerboards and fittings; rosewood species appear in some stringed instruments; and boxwood is found in certain historical woodwind and stringed-instrument work. These examples do not imply that every maker uses the same stock, that an alternative is unsuitable, or that a species determines a single sound. Instrument history, availability, conservation, regulations and workshop practice all influence choices.
Ask a maker which component is under discussion and whether the example is historical, contemporary or specific to their own practice. If a session discusses a named timber, ask about responsible sourcing and any relevant restrictions. Avoid treating a photograph or a short demonstration as proof of provenance. A credible workshop can explain the limits of what it knows and distinguish a general account from the history of a specific board.
What can you take away?
A visitor may leave with a vocabulary for describing grain, a small prepared sample, a sketch of a marking sequence, or a sharper sense of how a component’s purpose guides material choice. Those are worthwhile outcomes. A short introductory course should not promise that participants will select professional instrument stock independently. Nor should an exercise invite someone to cut a valuable instrument part without close supervision and a clear safety plan.
Before attending, ask whether you will be observing or handling tools, what materials are included, and whether the task is appropriate for your experience. Tell the organiser about relevant access needs, and check how they manage dust, sharp edges, eye protection and other workshop hazards. The maker remains responsible for setting boundaries around tools and materials. A good learning moment is often modest: seeing how one grain line changes a decision, then understanding why the maker checks again before proceeding.
Terms to notice
- Run-out
- Grain that does not run parallel to a board’s surface or length, potentially affecting strength and working behaviour.
- Seasoning
- The controlled drying and storage of timber before it is used; workshop practices and timeframes vary.
- Reference face
- A prepared surface used as a dependable guide for marking, measuring or later operations.
- Offcut
- A leftover piece that may be useful for observation or low-risk practice.
For the next stage, read how parts meet or compare workshop formats.