Construction is specific to the instrument
There is no single workshop sequence that applies to every musical instrument. A violin, guitar, flute, clarinet, trumpet, harp and frame drum differ in materials, geometry, acoustic purpose and methods of assembly. Even within one family, makers may follow different traditions, designs and personal working methods. A useful workshop account makes clear which instrument and component are being discussed, rather than implying that one demonstration explains all craft.
For a visitor, the most revealing moment may be the pause before a cut. The maker has to know what surface is being referenced, where the material should remain, and what the next operation will depend on. This is why marking, holding and checking are as instructive as the tool action itself. Ask what would change if the component were out of alignment, and how the maker knows the current fit is ready.
Set up the work before the tool
A numbered sequence can help a beginner follow what is happening without mistaking observation for independent competence. First, identify the part and its purpose. Second, notice the reference surface or line. Third, see how the work is supported and held. Fourth, observe the tool’s direction and the material removed. Fifth, watch the maker inspect the result before continuing. The order is a way to pay attention, not a set of instructions for using sharp tools without supervision.
- Name the part: What does it connect, support or guide?
- Find the reference: Which face, centre line or edge controls the next move?
- Watch the hold: How is the work secured, and where are hands kept?
- Notice the cut: What is removed, in what direction, and for what reason?
- Look for the check: How does the maker judge fit before proceeding?
In a supervised beginner session, you might trace a form, use a safe tool on a prepared practice block, or assemble a simple non-critical sample. A demonstration may involve a sharper tool or a valuable component that visitors only observe. The instructor should explain boundaries and provide the relevant protective equipment and supervision. Do not assume a tool is safe simply because it looks small or familiar.
When two surfaces meet
Fitting is a conversation between surfaces. If a joint is too loose, too tight or poorly aligned, it may affect stability, assembly or future repair. The importance of the fit depends on the joint’s role. A structural connection, a removable component and an ornamental detail are not interchangeable. Makers often remove a little material, test the relationship, and repeat. That slow rhythm reduces the risk of taking away too much at once.
On a stringed instrument, a maker may demonstrate how a shaped component sits against another surface or how an edge is refined. A bowed-instrument maker might discuss the relationship of plates, ribs and linings; a guitar maker may explain how a neck, body and bridge relate; a woodwind specialist may focus on tone holes, keys and pads; brass work may concern tubing, joints and moving mechanisms. These are examples, not a checklist that every visitor will see. Ask which part of the instrument is in view and what the operation is intended to achieve.
Forms, curves and visual references
Forms and templates help makers repeat or control a shape, but they do not eliminate judgement. A form can support assembly while a maker checks alignment, symmetry or the relationship between components. A pattern or drawing can guide dimensions, yet material behaviour and design variations still matter. It is useful to ask whether a visible outline is a permanent feature, a temporary reference or a guide for the next operation. This small distinction helps a visitor understand why pencil marks, clamps and fixtures appear beside finished-looking work.
Curves are especially instructive because they make gradual changes visible. A maker may compare a profile with a template, sight along an edge, or check how a component sits against a neighbouring part. In a short workshop, participants can sometimes draw a curve or compare shapes on paper before touching material. This can make geometry more approachable without suggesting that a brief exercise replaces the knowledge needed to build a playable instrument.
Surface finish and ornament
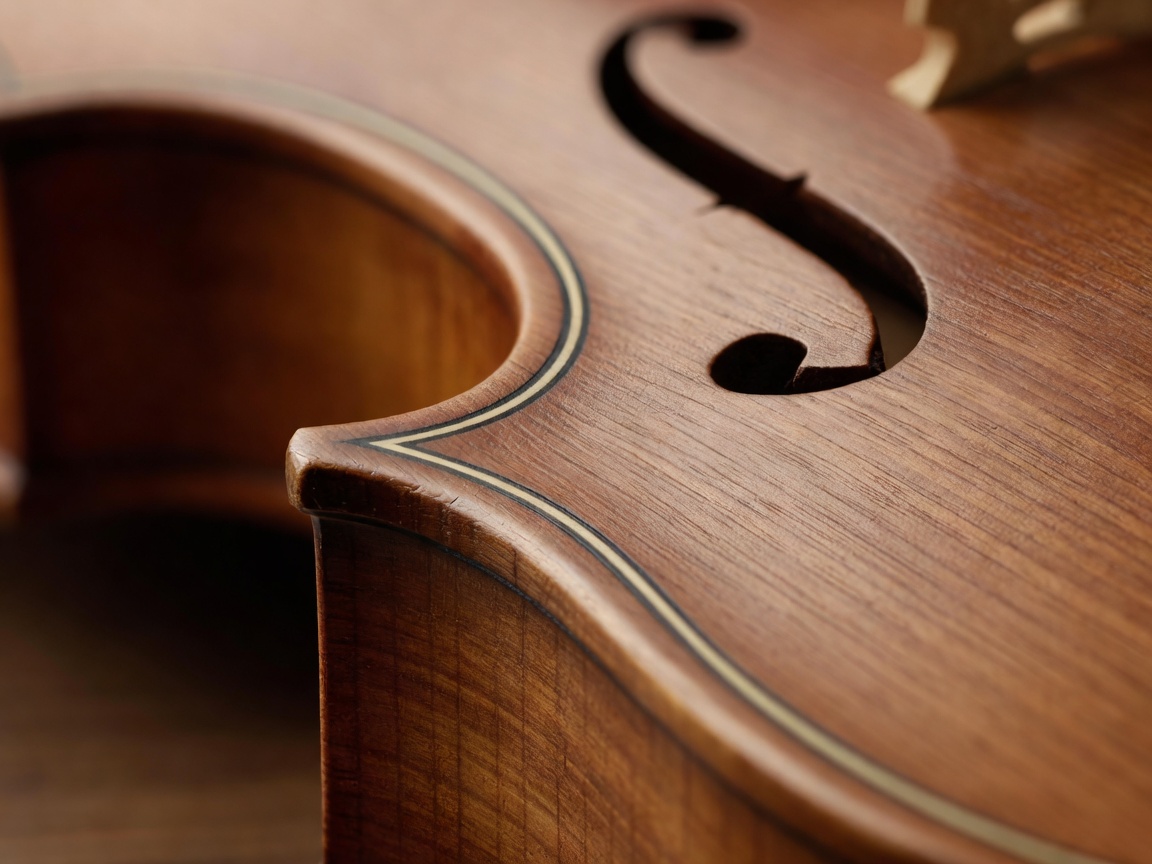
Details such as purfling, inlay, carving and surface finish can be beautiful, but they also have a place in a construction sequence. A narrow channel must be planned and cut with care; decorative work can depend on the underlying edge being ready. Finish may protect a surface, influence how it wears, or contribute to the maker’s chosen appearance. A historical instrument, a newly made instrument and a repair may call for different decisions. Ask what the detail is doing and whether the demonstration concerns a traditional method, a modern adaptation or the maker’s own practice.
A workshop participant may trace a design, study a sample or practise a controlled decorative exercise on spare stock. Specialist cutting into a finished instrument is different. It requires skill, appropriate tools and an understanding of the consequences of an irreversible operation. The distinction between “seeing how” and “doing on the instrument” should stay clear throughout a session.
What to ask at the bench
Useful questions are specific and open: “What is this surface referencing?” “How do you know this joint is ready?” “Would you make the same choice on another instrument family?” “Which part of this operation can a beginner safely practise?” These questions invite a maker to explain reasoning and limits. If a process is too specialised or the workshop is short, an honest answer may be that the operation is only demonstrated. That is not a lesser learning outcome; it may be the most responsible way to teach a consequential task.
After the session, note the order of operations and the checks you observed. Avoid copying tool techniques from memory without instruction. If you are interested in building a complete instrument, look for a course that states its prerequisites, teaching hours, materials, tool access and intended outcome. Read how to compare workshop formats, or continue to setup and listening.
Small glossary
- Reference surface
- A prepared face or line used to position or measure later work.
- Fit
- The relationship between mating surfaces, assessed in context rather than by appearance alone.
- Purfling
- A narrow decorative inlay used around the edges of some stringed instruments.
- Form
- A temporary support or guide used in particular construction methods.